Make an artist robot for 5 dollars
Published 28 February 2017 by Nicolas Barrial
A little drawing arm has just raised $88,000 on Kickstarter. While certainly cute, the robot is more of an art forger of your own creations. Why not make an artist robot with its own style for $5?
From sculptor Jean Tinguely’s drawing machines to the virtual painting of Tilt Brush, computer-assisted art continues to challenge the notion of authorship, be it human or machine. Line-us, a little drawing arm nearing the end of its Kickstarter campaign (where it raised $88,000), holds its brush firmly in hand. And how can we resist the iconic Pixar lamp’s daintily drawing cousin?
Judge for yourselves:
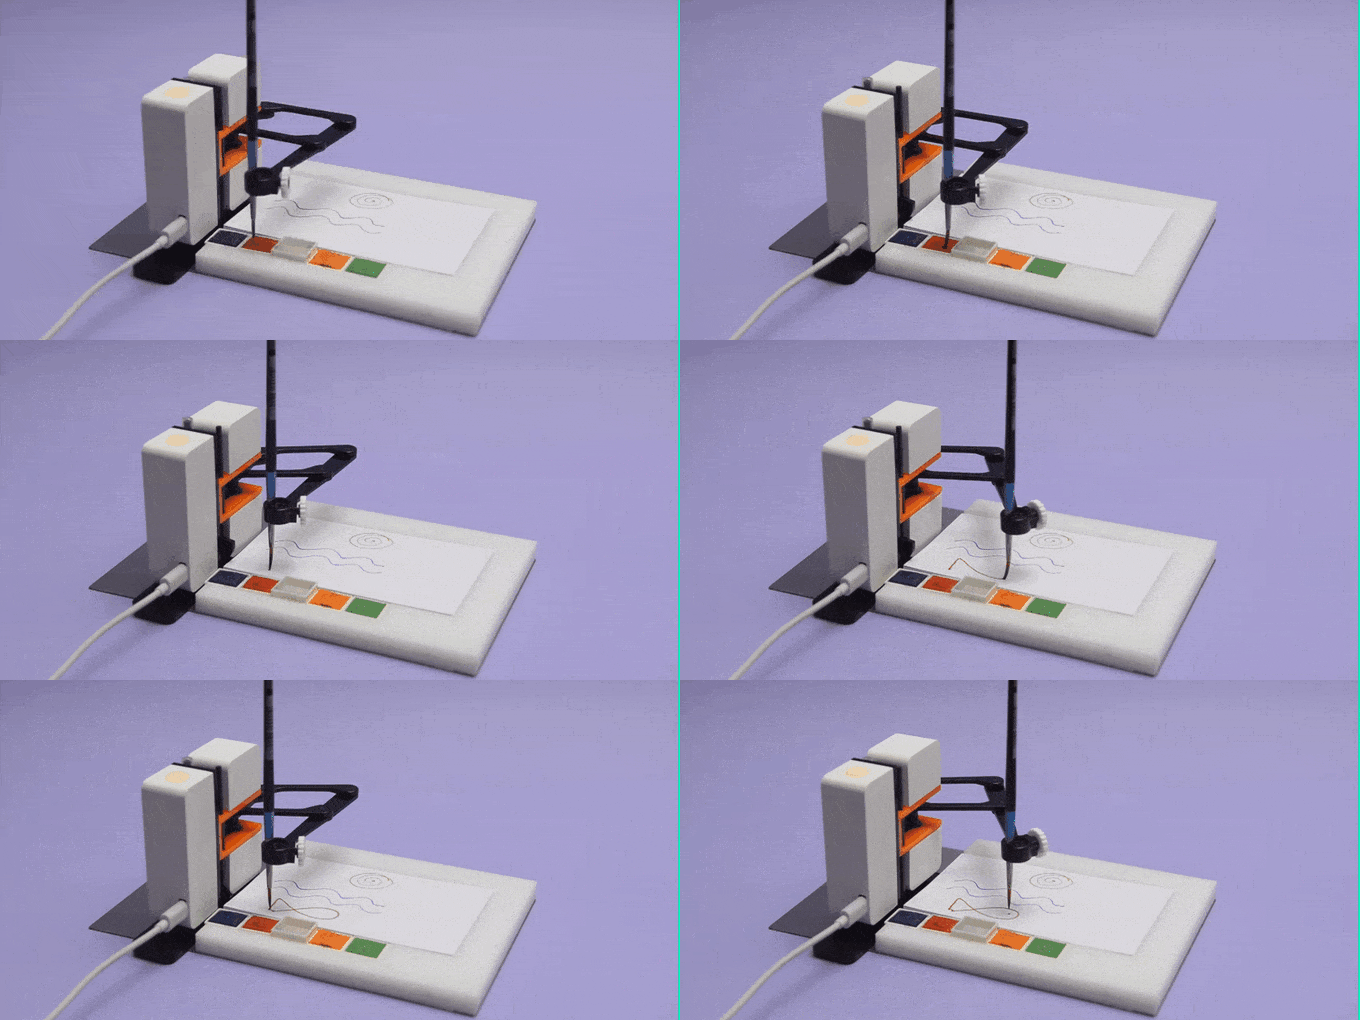
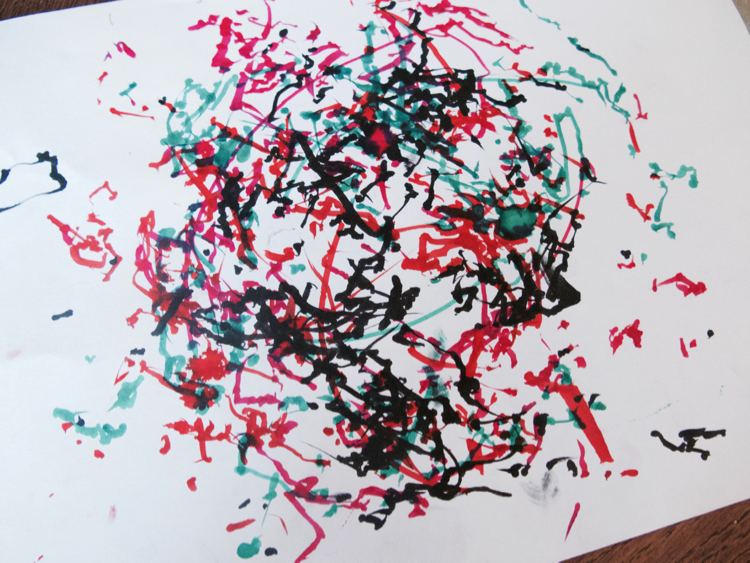
Artistically speaking, however, Line-us is a copyist. And not like Paul, the drawing robot by French artist Patrick Tresset. What if we let robots dream by implanting them with a Jackson Pollock algorithm? What would the king of dripping think?
“On the floor I am more at ease. I feel nearer, more a part of the painting.”
Jackson Pollock
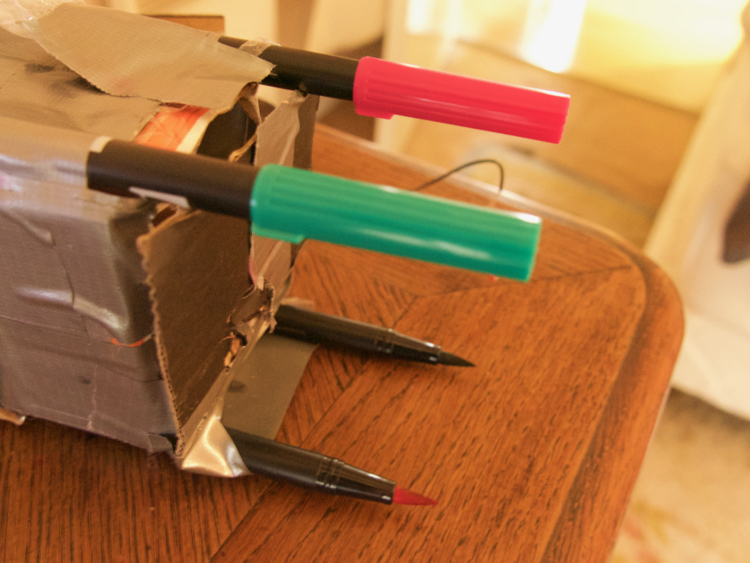
So we decided to try it. We loosely remade a scribbling robot devised by Tartaruga Feliz, a Brazilian maker who gives DIY workshops for children in Berlin. This robot is propelled by a motor and vibrates while drawing with its four marker-legs.
Materials
– 1 carton of fruit juice;
– 4 felt-tip markers in different colors;
– 1 130 DC Toy hobby motor ($2);
– 1 battery case;
– Corresponding batteries;
– Gaffer tape.
Assembly
1) The body of the robot should be the size of a carton of fruit juice, with a square base.
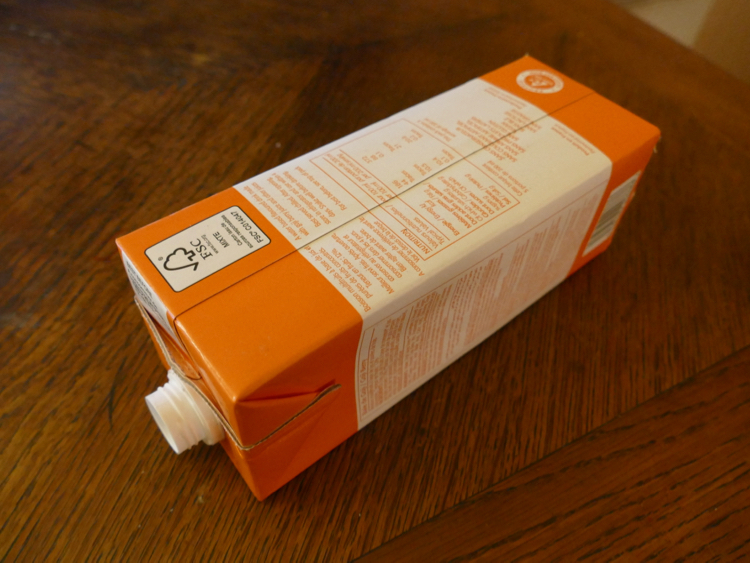
2) For the motor, fold a piece of gaffer tape into a flag on the rotating needle of the motor. Test the motor and the batteries by connecting them together to see if the flag spins.

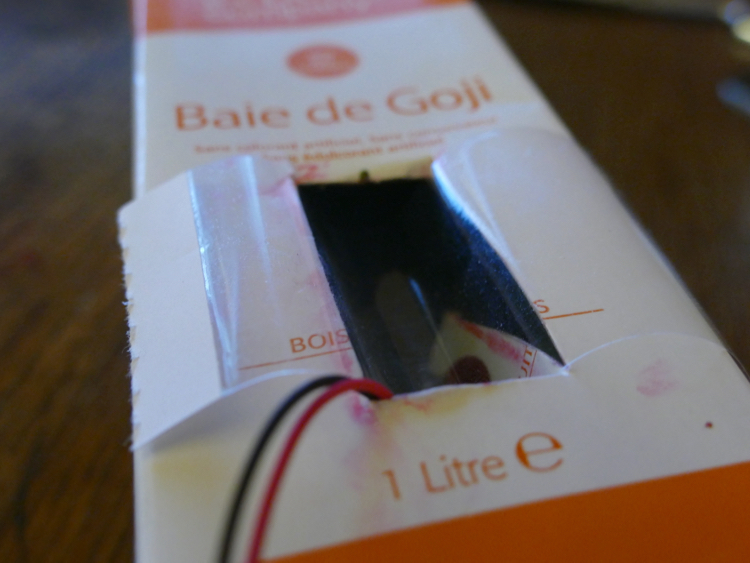
3) Before integrating the motor and batteries, choose one side of the carton to be the face of the robot. On the bottom of the carton, make a hole opposite the face to insert the motor. On the back side of the robot, make a hole to fit the battery case.
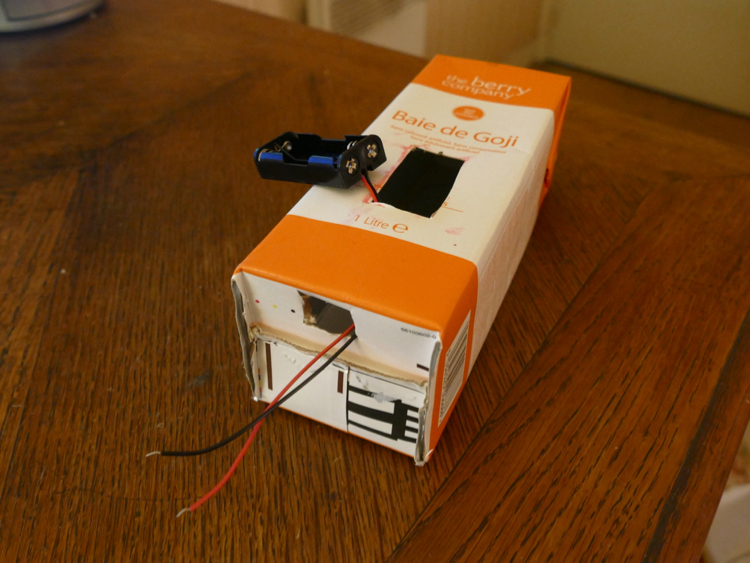
Insert the battery case into its space, then pull the wires out through the hole for the motor. Connect the wires and insert the motor halfway through the hole. Secure with tape.
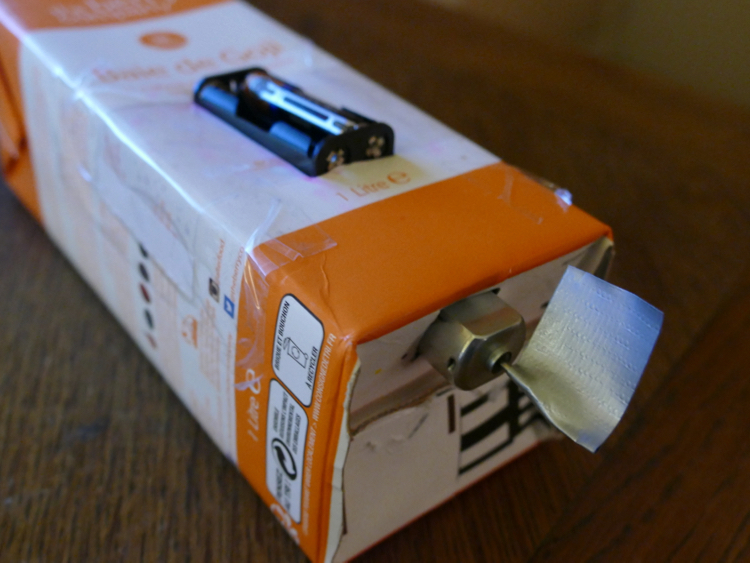
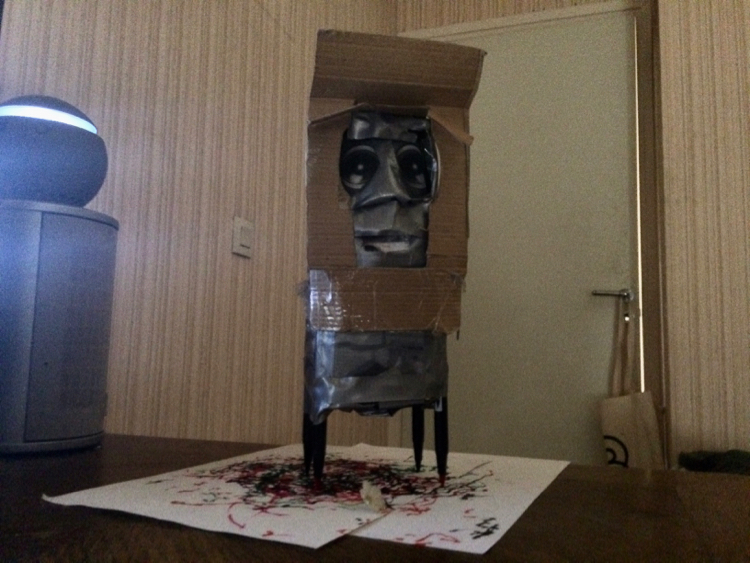
4) Attach the 4 marker-legs to the base. The face and character of the robot is up to your own imagination.
Now watch the maestro at work…
Watch the original drawing robot tutorial by Tartaruga Feliz
